Adjustable Desk
Hello Internets. I hope you have been doing great. I work at a computer 40+ hours week and sitting for that long isn’t good for you. So I been wanting to try out a standing desk. I was definitely not certain I could stand for an 8 hour day and not wanting to be in lots of pain I decided to make an adjustable desk. So my roommate and I built me an adjustable desk. It came out amazingly well. For buildpics and comments click the link.
Planning Process
I thought a lot about making an adjustable desk cheaply, a coworker of mine built an adjustable
topper for his desk very cheaply using 2 pieces of plywood an electric drill and a RV jack stand.
 This setup works well and is super cheap and easy, but doesn’t look great.
So I looked for different options. I was really impressed with the look of the Milk Desk.
I thought about making my own version of the milk desk with a large RV jack stand inside the center console.
There were some issues with the format of the milk desk that I don’t like.
Mostly with a center column it makes sitting at the center of the desk awkward for your knees and
if it’s not centered then it would be difficult to remain stable.
This led me to this guys build which looked great.
So I picked up some linear actuators on eBay for approx $40 each.
So I went to home depot picked up a sheet of cheap hardwood plywood and some aluminum strips we started building.
My roommate is a finish carpenter so he was responsible for all of the wood working awesomeness.
This setup works well and is super cheap and easy, but doesn’t look great.
So I looked for different options. I was really impressed with the look of the Milk Desk.
I thought about making my own version of the milk desk with a large RV jack stand inside the center console.
There were some issues with the format of the milk desk that I don’t like.
Mostly with a center column it makes sitting at the center of the desk awkward for your knees and
if it’s not centered then it would be difficult to remain stable.
This led me to this guys build which looked great.
So I picked up some linear actuators on eBay for approx $40 each.
So I went to home depot picked up a sheet of cheap hardwood plywood and some aluminum strips we started building.
My roommate is a finish carpenter so he was responsible for all of the wood working awesomeness.
That left me responsible for the electronics. It’s a very simple circuit containing an ATX power supply for the +5v(micro) and the +12v & -12V (the actuators run on 24v), adafruit’s trinket (to read the buttons and switch the relays), 2 rad looking buttons a dpdt relay(to reverse the polarity of the power to the actuators), and dpst relay (on and off power to the actuators).
Build Pics/Log
The build process took way longer then it should have mostly because I am still bad at making things in the real world. There were also a lot of issues with inductive voltage spikes on switching on/off the actuators.
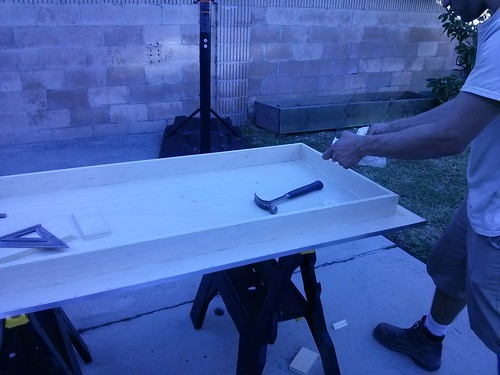
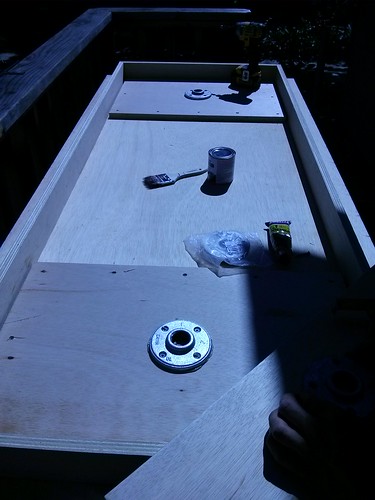
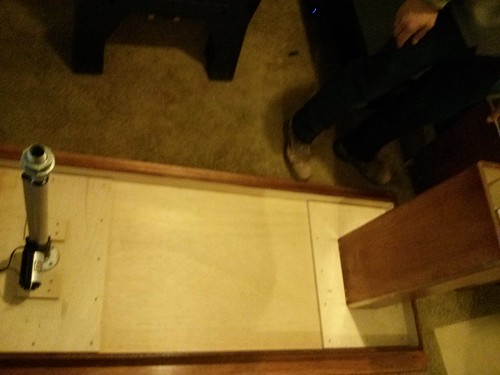
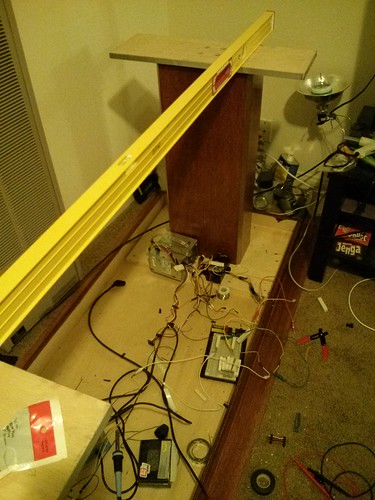
Cutting the desk and adding a lip to the bottom went pretty quickly the thing that took forever was adding the metal edge. Here is the feet and the monitor stand.
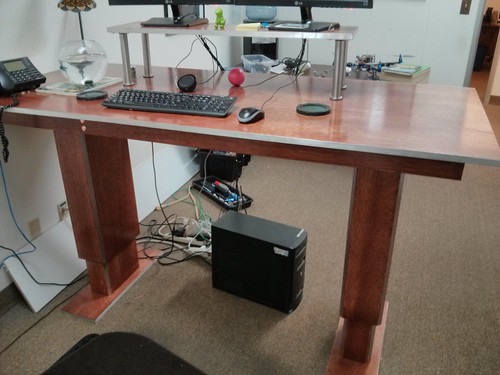
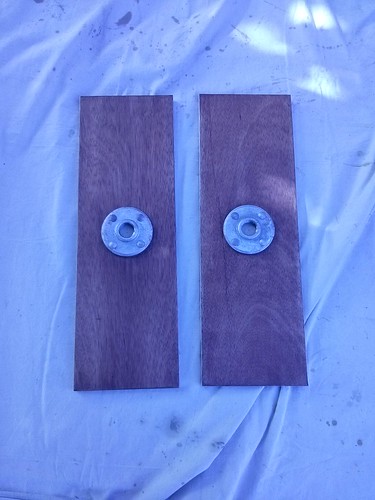
We used wall flanges and pipe fittings to attach the desk to the feet.
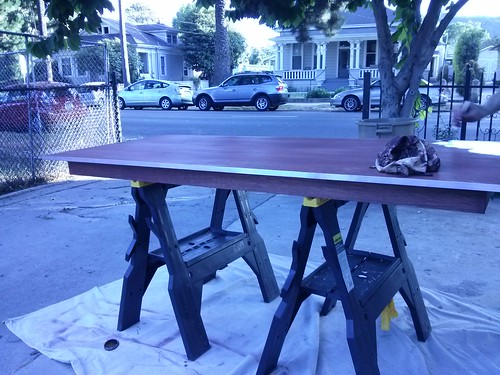
after we sanded/ground down the metal lip and sanded the desk we put some red stain and sealed the desk.

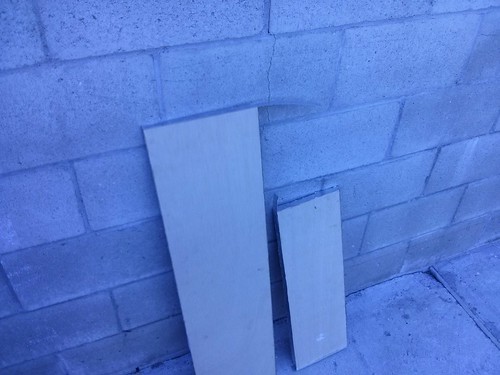
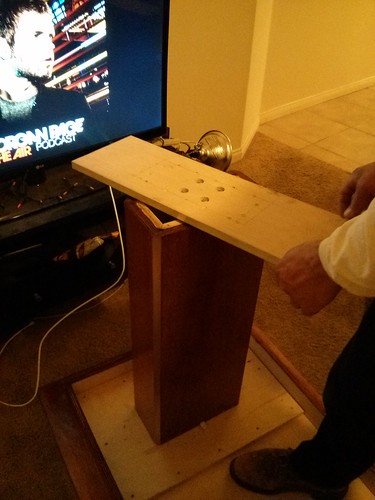
Without more support the desk was very unstable. So we (my roommate) built some boxes.
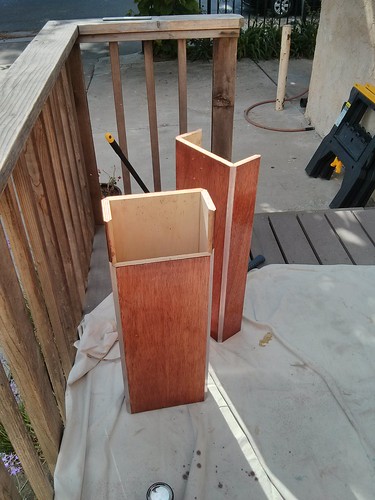
The small box attaches to the foot and the large box attaches to the underside of the desk.

This is what the desk looks like when it lowered.
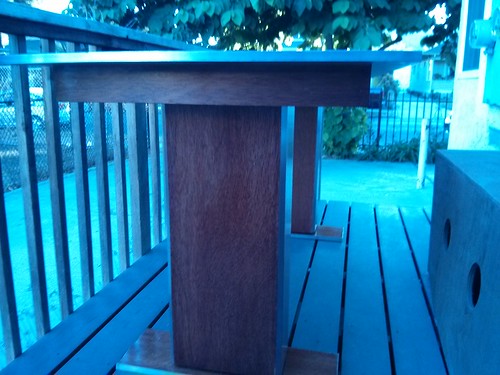
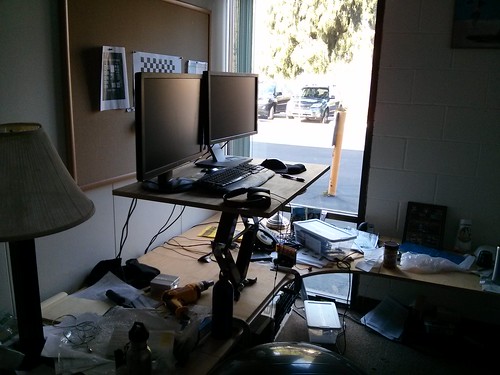
And this is what it looks like raised.
Here i am calibrating the 2 actuators by with power resistors to slow one of the down so they move at approximately the same speed.
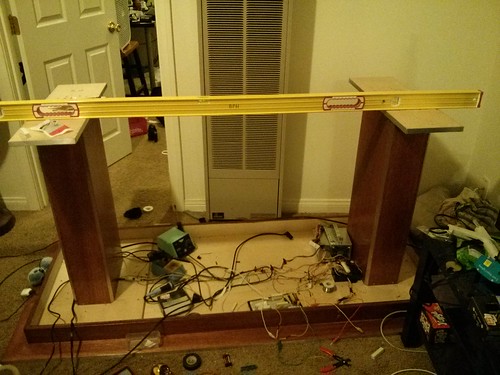
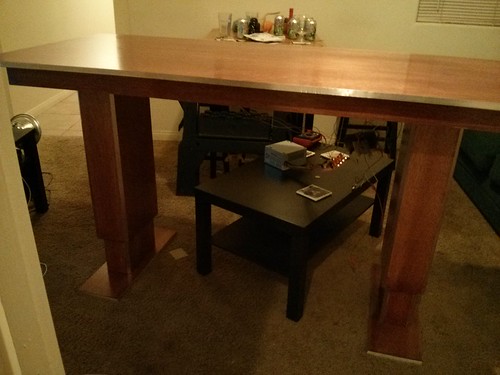
And here again is the finished product.
Future Additions
There are quite a lot of additions I want to make to the desk. Mostly using a proper H-Bridge motor controller instead of my janky DPDT nonsense. The actuators I have also have built in hall effect sensors, so I really want to be able to read those and auto level the desk. The desk is working great and looks awesome and I am loving standing most of the day.